Create your first browser profile
- Install Profileo and sign in. An active plan and an available profile slot are required to create a profile.
- Open the profile list and choose New Profile. Enter a descriptive name, such as “Client A — support”.
- In Overview, choose the browser and review the operating-system and user-agent settings.
- Open Proxy. Choose Without Proxy for your normal connection, or select the protocol and enter a proxy you are authorized to use.
- Review the remaining settings and choose + Create. Return to the list and launch the profile.
A profile that uses your normal connection still shares your normal public IP. Read how to assign and verify a proxy if network separation is needed.
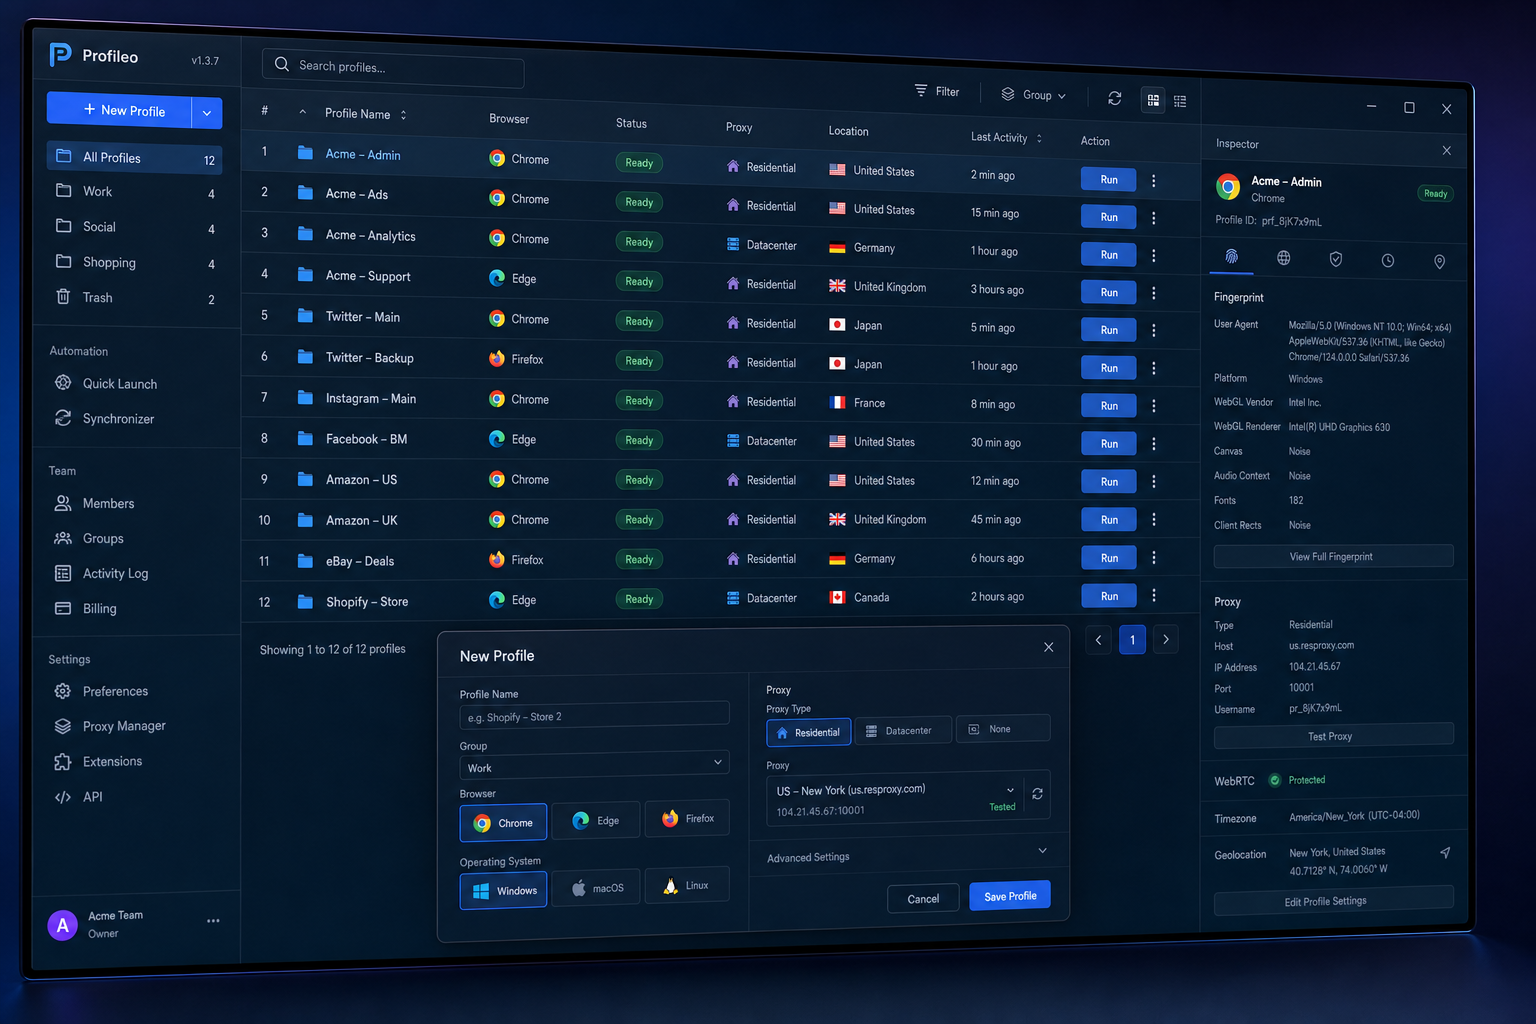
Understand the fingerprint settings
A browser fingerprint is a combination of properties a website can observe. In Profileo, the Advanced tab includes controls for Canvas, Audio Context, WebGL Image, WebGL Metadata and Client Rects, plus language and screen resolution.
Choose settings that reflect your intended environment and keep them stable for a workspace. Changing many settings repeatedly can produce inconsistent results. A masked property is not a promise that the browser will be undetectable.
Use Timezone and Geolocation to review time and location behavior. If you use a proxy, check the resulting location in the launched browser rather than assuming that every setting has matched automatically.
Review WebRTC before using a proxy
The WebRTC tab offers modes including Disabled, Altered and Real. WebRTC is used for browser calling and other real-time features. Restricting it can affect those features; leaving it real can expose network information that differs from your intended proxy route.
Choose the setting that fits the work, then test the launched browser. Check both the visible public IP and WebRTC behavior. Do this before logging in to a production account, especially when changing a proxy or browser.
Organize and reopen profiles
Use a naming convention that includes the account owner and purpose. Add comma-separated tags and useful notes in the profile settings, then use the list search and available folder controls to find a workspace.
Reopen the same profile when returning to an existing account so that you use its saved session. Close the browser before making configuration changes that should apply on the next launch. Review copied or imported settings before using another profile.
If a profile will not start
- Confirm that your plan is active and your profile limit has not been reached.
- Check whether the selected browser is available on the machine.
- If a proxy is configured, verify its host, port, protocol and credentials.
- Try an authorized test workspace to distinguish a connection problem from an account-specific problem.
- Record the error and contact support if the issue persists. Avoid sharing session cookies or passwords.
Next: plan your multi-account workflow or test a proxy connection.